AUTO CONTINUUM SOFTWARE
UPGRADE
To upgrade the software in the Miller Auto Continuum welder obtain the latest
version of software from the Miller website.
NOTE: Copy and paste the link below into your browser.
https://www.millerwelds.com/support/system-setup-and-software/continuum-software
Download the ZIP file onto the desktop of the computer.
USB Drive Setup
The software ZIP fi le should be now on the desktop.
1. Double click the .zip fi le to open it up and view the contents.
2. Drag and drop ALL the fi les from the ZIP fi le to the USB thumb drive. Make
sure these fi les are put at the root of the USB thumb drive, the Continuum will
not be able to fi nd them if they are in a folder on the USB thumb drive.
3. Eject the USB thumb drive by right clicking the drive icon in “My Computer”
and selecting “Eject” from the menu and unplug the USB thumb drive from the
PC.
NOTE: Before updating the welder software make a backup of the programs and welder
configuration data.
There are 2 methods of backing up the Continuum.
Method 1.
1. Open the Pendent application.
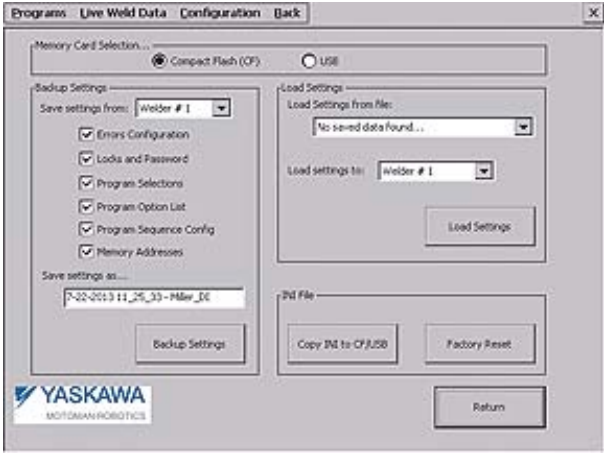
2. From the home screen touch Backup/Load and setup the device and select what
is to be saved.
Method 2.
1. Insert USB thumb drive into the USB slot next to the display on the front of the
welder.
2. Hit System button at bottom of the screen.
3. Then scroll to USB functions and push the knob in.
NOTE: A USB will have to be in the machine for it to allow you to go into the USB
functions screen.)
4. Then choose either write to system or write to USB depending on which you are
trying to achieve. For backup functions select write to USB. After you perform
the firmware update, reinsert the USB into the welder and select write to system
to restore programs.
Updating the Continuum
Make sure the Continuum is completely powered down prior to updating the system.
Starting a software update without a full power cycle will result in an incomplete
update and potentially cause additional problems.
NOTE: When the white “Power ON” LED, on the power source, has turned off the
system is fully powered down, this will take approximately 25 seconds.
1. Flip open the rubber USB port protection door and plug the USB thumb drive
into the USB port on the front panel of the User Interface.
2. Power ON the machine. The Continuum will automatically begin reading the
USB thumb drive.
3. When prompted by the User Interface, select “YES” to update the system by
pressing the button under the “YES” option. It is VERY important that the USB
thumb drive be left in the system throughout the entire update. DO NOT touch
the system until the update is complete (that includes not touching the USB
thumb drive, gun, feeder, user interface, power source, knobs, buttons, or power
switch).
4. The Continuum will proceed with updating itself. This part of the process should
take about 15 minutes.
The first 5-7 minutes of the update will be loading a collection of helper apps
into the machine. The last step of this part is to load the helper app into the User
Interface. During this period the LEDs will go blank for up to 15 seconds.
The next 3-5 minutes are dedicated to updating the system bootloaders. The last
step of this part is to load the new User Interface bootloader, at which point the
LEDs will go blank for up to 15 seconds again.
The final 5-7 minutes of the update are loading the new application images into
the system. The last step of this part is to load the new User Interface application
at which point the LEDs will go blank again. After this point the system will
reboot itself.
5. When the update is complete, the user interface will be displaying the standard home screen
and the system will be ready to weld. At this point it is safe to remove the USB thumb drive
and begin using the machine again.
Comments
0 comments
Please sign in to leave a comment.